Part 3/3: How to deploy a production app to Kubernetes (GKE)

Introduction:
This blog post is the final installment of a three-part series dedicated to scaling a NestJS chat app to handle millions of users. In the first two episodes, we discussed the scaling process and demonstrated how to deploy it locally using Docker and Minikube. However, in this final episode, our focus shifts to deploying the app in a production environment on Google Kubernetes Engine (GKE). If you want to jump directly to a working solution, you can check out the deploy-on-gke branch of the GitHub repository here.
While it is recommended to read the previous episodes for a comprehensive understanding of the scaling process, this post can also serve as a standalone guide specifically for deploying the app to GKE in a production-ready manner. By the end of this episode, you will possess all the necessary tools and knowledge to successfully deploy your NestJS chat app on GKE, ready to handle high user loads.
Section 1: Prerequisites
Before diving into the deployment process, ensure you have the following prerequisites in place:
- A Google Cloud account.
- The Google Cloud SDK installed on your local machine (you can find installation instructions here).
- Basic familiarity with Docker and Kubernetes concepts.
Section 2: Creating a GKE Cluster
The first step is to set up a GKE cluster, which will serve as the runtime environment for your application. Here are the steps:
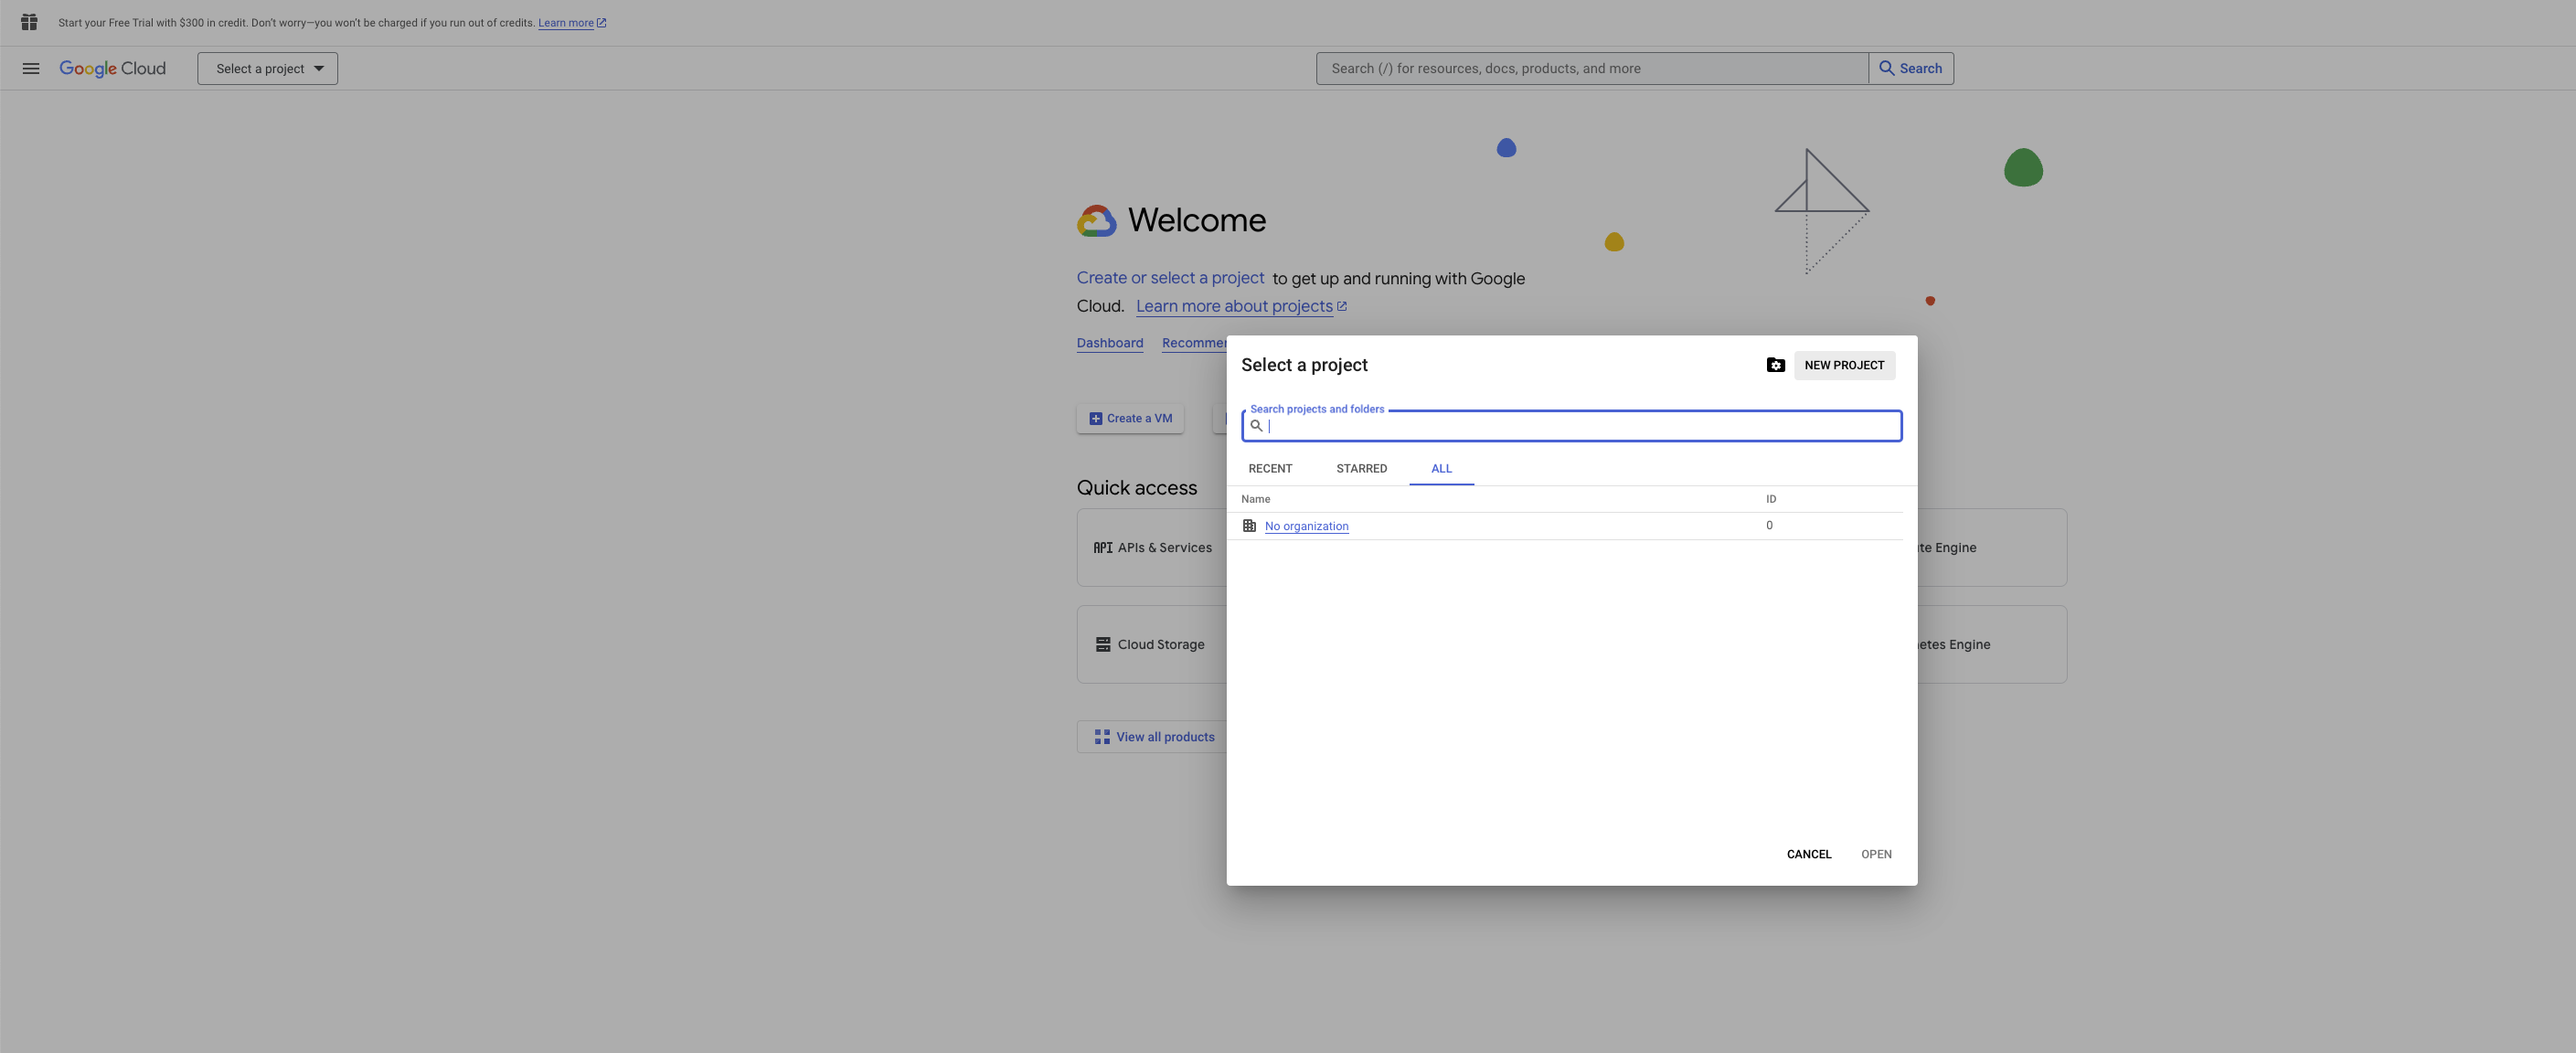
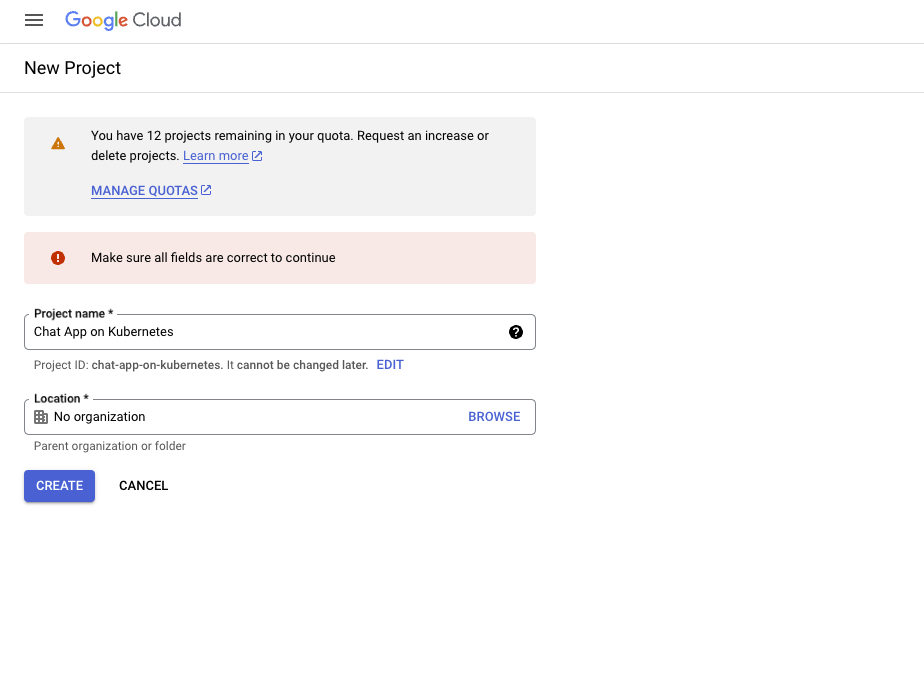
- Create a new Google Cloud project through the GUI and ensure billing is activated.


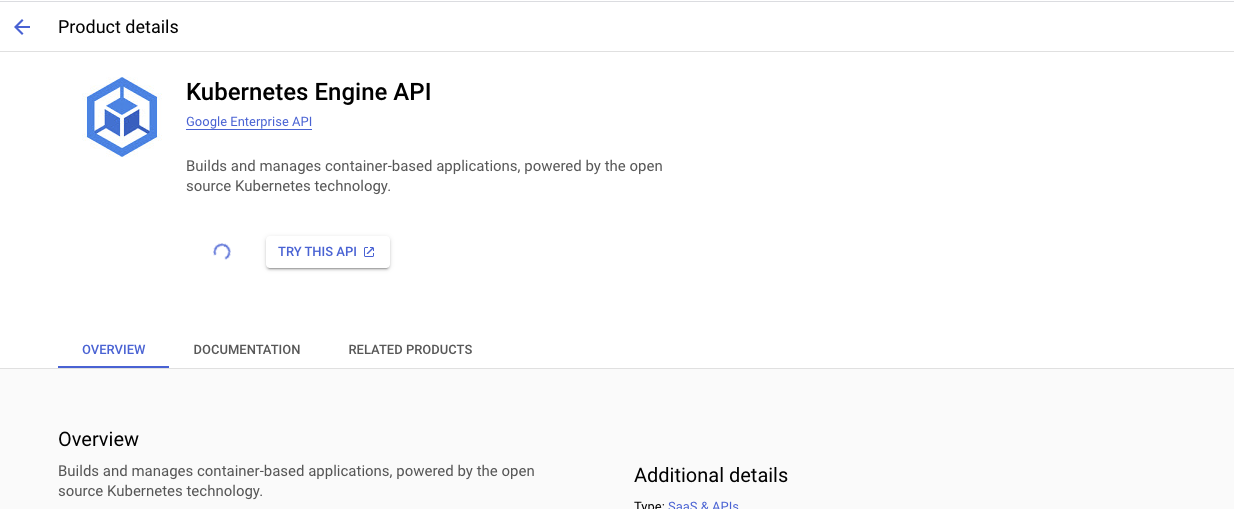
- Enable the Kubernetes Engine API for the newly created project (billing should be activated).

- Switch to the Google Cloud CLI and authenticate using the command
gcloud auth login. - Make sure your active project with billing activated is set to the correct one by running
gcloud config set project <YOUR-PROJECT-ID>. - Create a Kubernetes cluster using the command
gcloud container clusters create scale-chat-app-cluster.
This process may take a little time. Afterward, create a static external IP address, which is needed to make your app accessible over the internet:
gcloud compute addresses create tutorial-ip --global
Check the details of the newly created IP address:
gcloud compute addresses describe --global tutorial-ip
Now, update your DNS records for your chosen domain to point to this IP address.
Section 3: Containerizing Your Application
To deploy your application to Kubernetes, it must be packaged into a container image. For this tutorial, we've already published the Docker image on Docker Hub as a public image here. Docker Hub serves as a container registry from which your Kubernetes app will retrieve the container image. If you want to use a private image, you can do so. If you're interested in learning how to publish your own image, you can follow a Docker tutorial here.
Section 4: Defining Kubernetes Deployment and Service YAML
In this section, we'll delve into the Kubernetes Deployment and Service YAML files. These files define how your application should be deployed and exposed. We'll discuss key parameters and provide examples to help you create your own YAML files.
- To start, use the Kubernetes YAML files from the previous tutorial. What you'll need to add:
- A GKE Ingress Controller. An ingress controller receives and load-balances traffic from outside Kubernetes to pods running in a Kubernetes cluster.
- A default backend for this Ingress. Any requests that don't match the paths in the rules field are sent to the Service and port specified in the defaultBackend field. We will have an Ingress with no rules so that all requests are sent to this default backend.
- Annotations for the Ingress to capture the IP address set above.
- A managed certificate service where we will define the domains we own so that the app can point to that domain and have SSL.
- A frontend config that will automatically redirect all requests to HTTPS.
- A readiness probe configuration in our deployment config to inform GKE about pod health (for this, you will also need to implement a health route, which is a route that always returns a 200 status on GET).
The ingress config looks like this:
apiVersion: networking.k8s.io/v1
kind: Ingress
metadata:
  name: backend-ingress
  annotations:
    kubernetes.io/ingress.global-static-ip-name: tutorial-ip
    networking.gke.io/managed-certificates: managed-cert
    kubernetes.io/ingress.class: "gce"
    networking.gke.io/v1beta1.FrontendConfig: ssl-redirect
  labels:
    app: backend
spec:
  defaultBackend:
    service:
      name: backend-service
      port:
        number: 3000
The backend config looks like this:
apiVersion: cloud.google.com/v1
kind: BackendConfig
metadata:
  name: my-backendconfig
spec:
  timeoutSec: 120
The backend service should be annotated with your backend config:
apiVersion: v1
kind: Service
metadata:
  name: backend-service
  labels:
    app: backend
  annotations:
    cloud.google.com/backend-config: '{"ports": {"3000":"my-backendconfig"}}'
The frontend config looks like this:
apiVersion: networking.gke.io/v1beta1
kind: FrontendConfig
metadata:
  name: ssl-redirect
spec:
  redirectToHttps:
    enabled: true
The managed certificate looks like this:
apiVersion: networking.gke.io/v1
kind: ManagedCertificate
metadata:
  name: managed-cert
spec:
  domains:
    - subdomain.put-your-domain-here.com
The readiness probe looks like this: (It has to be added in backend-deployment.yaml at spec.template.spec.containers)
          readinessProbe:
            httpGet:
              path: "/health"
              port: 3000
            initialDelaySeconds: 10
            timeoutSeconds: 5
If your Docker image is private, you will need to create a Kubernetes secret to store your Docker private image credentials. However, for the purpose of this tutorial, we will continue using the public image we've used in our previous episodes.
Here's how to create a Kubernetes secret for private Docker images:
kubectl create secret docker-registry regcred \
    --docker-server=https://index.docker.io/v1 \
    --docker-username=<your-name> \
    --docker-password=<your-password> \
    --docker-email=<your-email>
Please note that this example assumes you are using Docker Hub as your registry. If you are using a different Docker registry, make sure to set the --docker-server option accordingly to match your registry's URL.
In your backend-deployment yaml spec (spec.template.spec.imagePullSecrets), you will have to add this secret in order to be able to pull the image:
      imagePullSecrets:
        - name: regcred
Section 5: Deploying Your Application to GKE
Now, it's time to deploy your application to the GKE cluster. Follow these steps:
- Ensure you are in the correct Kubernetes context:
kubectl config get-contexts
If necessary, switch to the appropriate context:
kubectl config use-context <YOUR-CONTEXT-NAME>
- Run the following command in your project directory:
kubectl apply -f k8s
You will need to wait for the Google-managed certificate to finish provisioning, which may take up to 60 minutes. You can check the status of the certificate using this command:
kubectl describe managedcertificate managed-cert
Section 6: Scaling and Managing Your Application
Kubernetes
GKE offers powerful scaling and management capabilities. For example, you can update the number of replicas or resources used per pod.
- Add a resources variable to the containers in backend-deployment.yaml: (make sure the cluster has sufficient resources)
resources:
  limits:
    cpu: "2000m"    # Maximum CPU limit
    memory: "4Gi"   # Maximum memory limit
  requests:
    cpu: "1000m"    # Minimum CPU request
    memory: "1Gi"   # Minimum memory request
Section 7: Conclusion
In conclusion, Kubernetes GKE offers a scalable and reliable environment for deploying applications. Throughout this blog post, we've explored the essential configuration options necessary to successfully deploy your application in a production-ready environment.
